A guide for painting tile
Advices

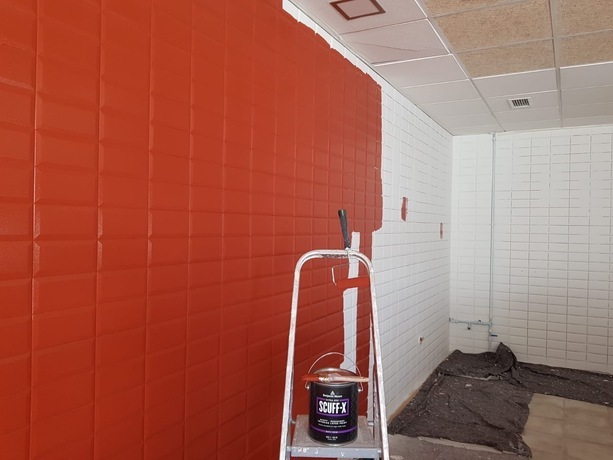
How to Paint Tile
Painting over tile can transform its look with dramatic results. While you can help customers achieve a different look by repainting—at a fraction of the cost of replacing—painting tile does have limitations. The more your customers know about what to expect, the better your chance of success. The first step in the process is communication. Here are some points to guide your conversation.
A Successful Tile Painting Project Starts with 3 Questions: Why? What? Where?
1. Why Are Your Customers Considering Painting vs. Retiling?
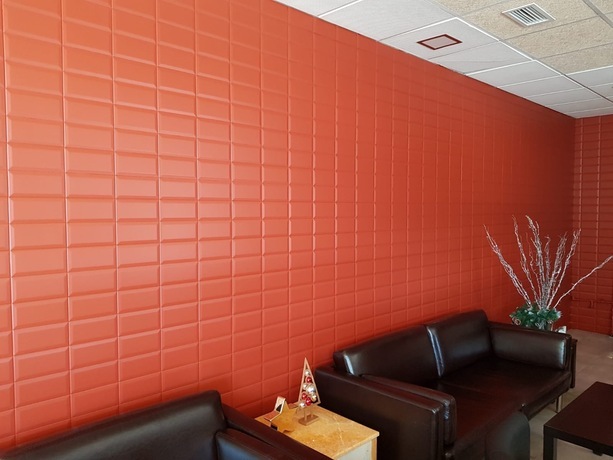
There are several reasons for repainting tile including giving an outdated bathroom a cost-efficient style update; home staging for an upcoming prospect visit; or maybe wanting to turn a bland, tiled wall into a colorful focal point. Knowing what’s most important to them—whether it’s cost and timing, the finish details, or long-term durability—is an important first step.
2. What Are Your Customers’ Expectations for the Project?
Advise them that painting tile is typically something homeowners opt for as an economical alternative to replacing it. This is where you can level-set expectations.
3. Where Are the Existing Tile Surfaces Located?
If they are in a bathroom, kitchen, or laundry room, your best bet will be painting over tile on walls and vertical surfaces that are not in high-traffic areas and do not have direct exposure to water.
Painting Tile Watch-outs
Keep in mind:
Painting tile is not necessarily a long-term solution. When it comes to performance, there’s no substitution for regular ceramic tile which is known for its durability and can last for years.
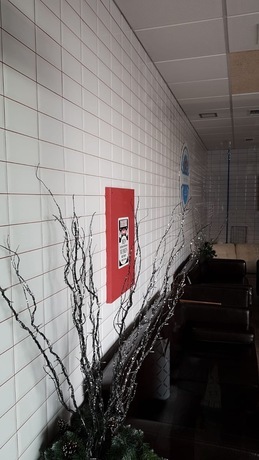
- What about contrasting grout lines? Repainting tile means grout lines will be covered up and the individual tiles will be less defined. If the grout lines are going to be missed, repainting may not be a great option. Check out photos online of repainted tile walls to set expectations on the final look.
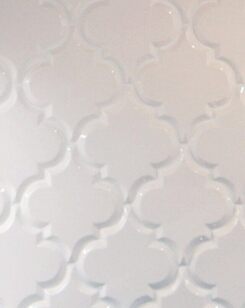
- What are the challenges and prep work involved? Glossy tiles are among the more difficult substrates to prep for top coating. If they are cracked or chipped, they will need repair work before painting, which can add time to the job.
Not All Tile Surfaces Are Suitable for Painting:
- High-moisture areas—If the tile wall is in a bathroom, kitchen, or laundry room, steer clear of walls that have direct exposure to water and are in high-traffic areas. Frequent exposure to water will cause the paint to blister and peel.
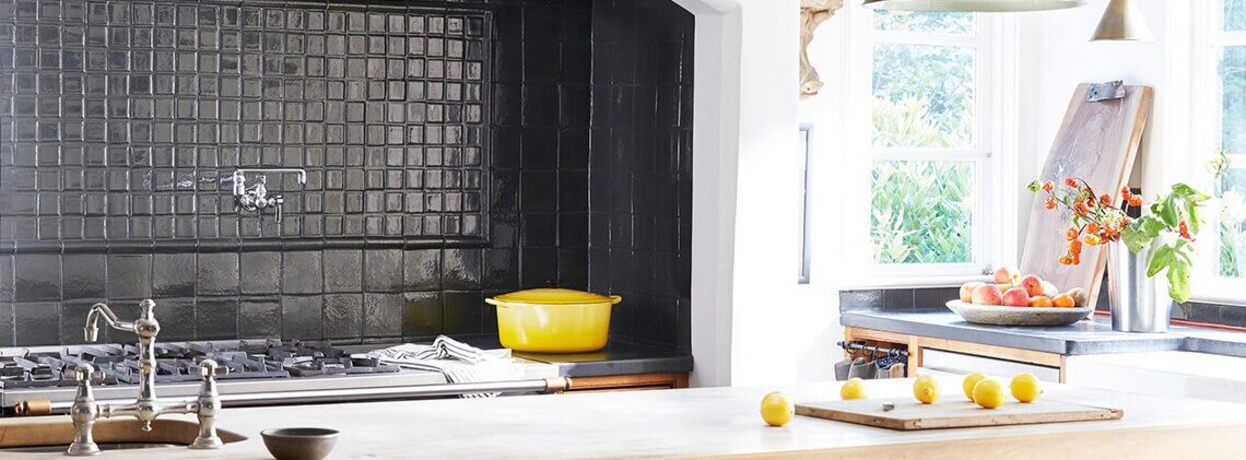
- Kitchen countertops—Painted tiles on kitchen counters cannot withstand exposure to hot pots or pans and be easily scratched by knives and other utensils.
- Severely damaged tiles—The condition of some tiles may be too far gone to repair.
- Floor tile—Constant foot traffic and friction will cause the paint to wear prematurely. We do not recommend painting over floor tile.
If you have specific questions about your tile painting project, your Benjamin Moore rep can help, from quick product tips to assessing your potential job by reviewing project photos.
Ready to Begin? Choose the Best Primer and Paint for the Job
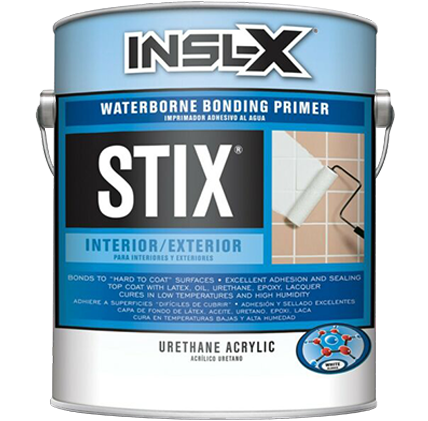
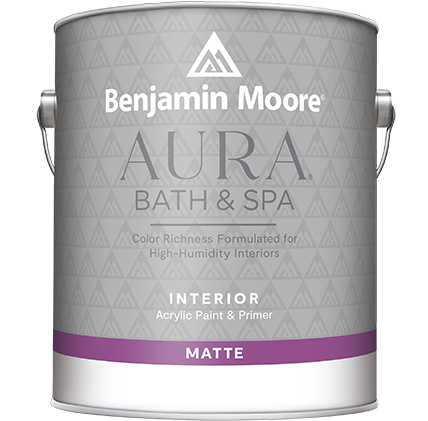
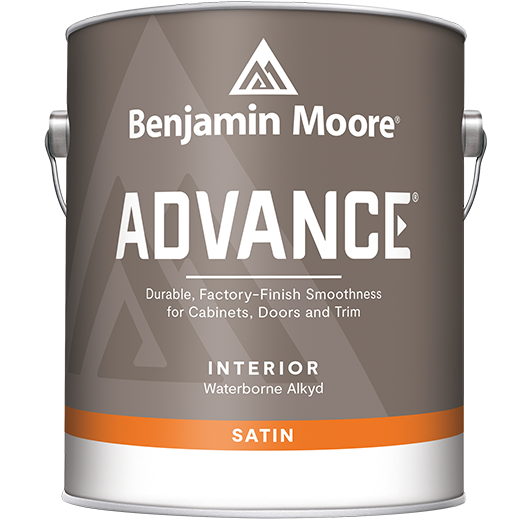
Benjamin Moore® premium products will help you tackle your next tile painting project. INSL-X® STIX® Waterborne Bonding Primer covers glossy surfaces and other challenging substrates with unparalleled adhesion, providing the best base for top coating. After the primed surface is completely dry, brush or roll on 2 applications of paint. For bathrooms and high humidity environments, Aura® Bath & Spa is ideal, offering a matte, mildew-resistant finish that is both durable and beautiful. Formulated with Benjamin Moore’s proprietary Color Lock® Technology, Aura Bath & Spa maintains color integrity over time, as the pigments are locked into the film so the color won’t fade—even after repeated washings. And the matte finish is worlds away from the shiny bathroom paint of yesteryear. For other rooms in the home, ADVANCE® premium quality waterborne alkyd is the perfect choice for a durable high-end finish.
Here's what else you'll need:
- Quality brushes, rollers, or HVLP sprayer
- Protective gear
- Tape
- Bleach or a tile cleaner formulated to kill mold and mildew
- Grease or a tile cleaner formulated to kill mold and mildew
- Scraper
- Sander
- 400-grit sandpaper
A Step-By-Step Guide to Painting Tile
While every tile painting job is unique, here are some general key steps:
- Repair any minor cracks or imperfections and make sure surfaces are level with existing tiles.
- Remove traces of old sealant with a scraper.
- Clean tiles and grout joints with bleach and warm water to kill mold and mildew, then flush the surface with clean water. Remove any grease or surface buildup.
- Sand to dull the surface using 400-grit sandpaper, then dust, rinse, and let tiles dry
- Prime with STIX® High Adhesion Bonding Primer.
- Paint—Brush, roll, or spray on 2 top coats of Aura® Bath & Spa.
Discussing project details and establishing expectations upfront creates a win-win situation for everyone. Don’t forget to ask for permission to photograph the final results to use for sales purposes.
Pro Tip Spotlight:
Does tile need repair work before painting? Hairline cracks in tile can be repaired with a small amount of clear epoxy to fill them in using a narrow brush or toothpick. For broken grout, remove loose pieces and plan on re-grouting. Follow the manufacturers’ instructions for cure time.